
Tools
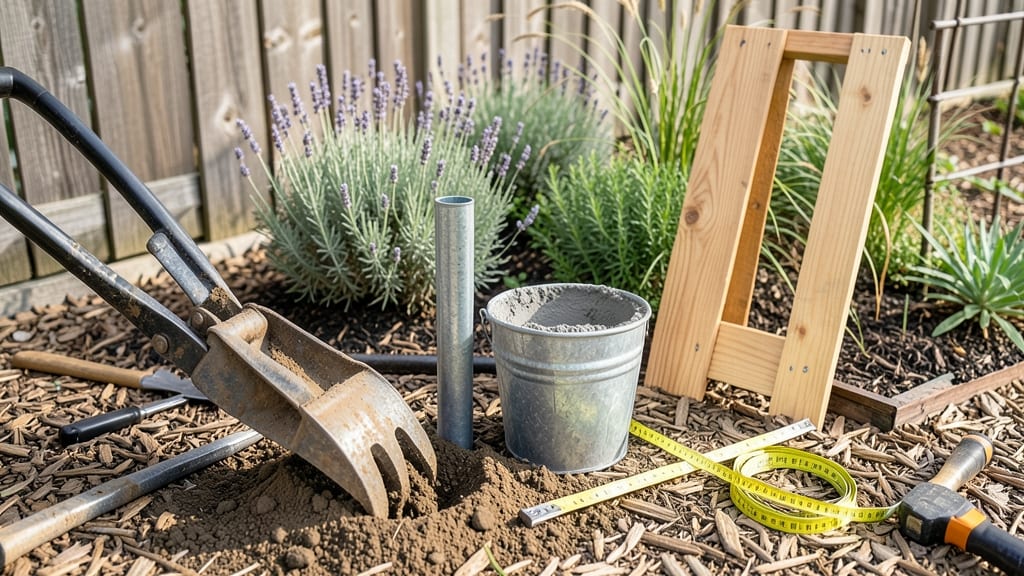
Building a fenced garden feels like claiming a private oasis in your backyard. 🌿 I spent years watching neighbors struggle with flimsy fences that bent in storms or let critters wander in—until I found this simple, sturdy system that actually lasts. The key?
Matching materials to your climate and needs without breaking the bank. You’ll need basic tools (a post hole digger, drill, and level), plus materials like 6-foot tall T-posts (for durability) and vinyl or wood panels (for weather resistance).
My first fence cost under $500 for a 10-foot section, and it’s still standing strong after five years. The secret? Skipping pressure-treated wood (it’s pricey) and opting for cedar or composite instead—both resist rot and bugs better.
Once installed, you’ll love how the fence blocks wind, keeps pets in, and creates a calm, contained space where plants thrive without interference. I added lattice panels along one side for climbing roses, turning the fence into part of the garden’s beauty.
Maintenance is minimal: just an annual coat of sealant if using wood. This works for any yard size—whether you’re enclosing a 10x10-foot plot or a full backyard. The same principles apply to both decorative and security-focused designs. Ready to transform your garden into a private retreat?
📚 In This Guide
- What you need
- Instructions
- Tips and common mistakes
- Wrapping up and next steps
What you need
- ● Fencing: Choose your style—wooden panels (6 ft tall, 4x8 ft sheets), vinyl (6 ft sections, 12 ft lengths), metal (6 ft tall, 8-10 ft sections), or chain-link (4x8 ft panels, 6 ft tall). Calculate total length based on your garden’s perimeter + gates.
- ● Posts: Wooden (4x4 posts, 8 ft long, spaced every 6-8 ft) or concrete (pre-cast or tubes for DIY). Quantity: ~1 post per 6-8 ft of fencing.
- ● Hardware: Galvanized screws or nails (3-inch, 16d for wood, 2-inch for vinyl)
- ● Post anchors or concrete (60 lb bags, ~1 per post)
- ● Hinges, latch, and screws for gates (2 hinges + 1 latch per gate)
- ● Corner braces (for structural support)
- ○ Optional Extras: Privacy slats or lattice (for added coverage)
- ● Decorative caps (for wooden posts)
- ● Soil or gravel (for post holes, ~1 cubic yard per 10 posts)
- ● Staples or zip ties (for attaching plants or trellises)
- ● Essential: Measuring tape (25 ft)
- ● Level (4 ft)
- ● Post hole digger (manual or auger) or shovel
- ● Circular saw or miter saw (for cutting wood/vinyl)
- ● Drill/driver (with screw bit set)
- ● Hammer or nail gun
- ● Ladder (6-8 ft, for tall fences)
- ● Helpful Extras: Wheelbarrow (for mixing concrete or moving materials)
- ● Safety gloves and goggles
- ● String line (for marking layout)
- ● Stakes and string (for temporary guides)
- ● Check local regulations: Verify fence height limits, permits, and property line setbacks.
- ● Mark your layout: Use stakes and string to outline the garden’s shape before digging.
- ● Clear the area: Remove rocks, debris, and vegetation from the fence line.
- ● Call 811: Always check for underground utilities before digging!
Step-by-Step instructions for building a fenced-in garden
Here's my go-to method for creating a sturdy, private garden space using basic materials and smart techniques.
🪴 Step 1: Plan and Mark Your Garden Layout
Start by sketching your garden's shape on paper, then transfer it to the ground using wooden stakes and string. I like to use a 4-foot wide path for easy access between rows. Measure diagonally to ensure all corners meet at 90-degree angles—this prevents crooked fencing later.
Check local property lines before digging post holes. I mark the exact fence line with spray paint on the stakes so I don't accidentally encroach. For a 6x8-foot garden, you'll need 14 posts (one at each corner, plus three along each long side). Use a level to ensure all stakes stand perfectly vertical before securing them with temporary stakes.
☀️ Step 2: Install Corner and Gate Posts
Dig holes for corner posts 12 inches wide and 12 inches deep—they need extra support to anchor the entire fence. Pour 2 inches of gravel in the bottom of each hole to improve drainage. Set the post in place and use a level to ensure it's perfectly vertical before backfilling with native soil.
For the gate, I use two 4x4 posts spaced 6 feet apart to create a standard doorway width. Bury these 18 inches deep and use 2x4 braces on both sides to reinforce the structure. Let the concrete (or soil) set for 24 hours before attaching any horizontal supports—this prevents shifting as you work.
✂️ Step 3: Attach Horizontal Rails and Panels
Install two horizontal rails at 12 inches from the ground and 30 inches from the ground—this creates a standard height for most garden fencing. Use 3-inch deck screws to secure 2x4 rails between posts, keeping them perfectly level. For privacy, I attach 4-foot tall lattice panels between the rails using 2-inch exterior screws.
Leave a 3-inch gap between panels and the ground to prevent moisture buildup. I stagger the seams between panels so no single vertical line runs through the entire fence—this makes the structure sturdier. For extra privacy, add a second row of lattice panels 2 feet above the first row, creating a 6-foot total height.
💧 Step 4: Add Gate Hardware and Finishing Touches
Attach the gate hinges to the gate posts using 3-inch exterior screws, then secure the gate itself. I use a 2x4 frame for the gate base to match the fence structure. Install a latch on the inside and a simple hook on the outside for easy access. For a rustic look, I stain the wood with a weather-resistant finish—this protects it from rain and sun while keeping the natural appearance.
Finally, add 1-inch gravel along the base of the fence to prevent moisture from pooling against the wood. This simple step extends the life of your fence by years. I also plant low-growing perennials along the inside edge to soften the look and provide natural ground cover.
Tips & tricks for building a sturdy privacy fence
A few smart strategies that'll make your fencing project stand the test of time—and weather.
Precision in Planning: Before marking your layout, walk the perimeter with a tape measure to account for any uneven ground. I've seen too many fences start crooked because someone didn't factor in slopes or existing landscape features. For that 6x8-foot garden mentioned in Step 1, use a 3-4-5 triangle method to verify your 90-degree angles—measure 3 feet along one side, 4 feet along the adjacent side, and check if the diagonal measures exactly 5 feet. This simple math trick guarantees perfect corners every time.
Post Installation Pro Tips: When digging those 12-inch deep holes for corner posts in Step 2, rent a post hole digger instead of trying to do it by hand—it saves hours of backbreaking work. For the gate posts that need 18 inches deep, consider using a manual auger if you're working with rocky soil. After setting posts, I always tap them gently with a rubber mallet to settle the soil around them before backfilling completely. This prevents future shifting when you attach the rails.
Panel Alignment Secret: In Step 3, when attaching those 4-foot tall lattice panels, use a string line between the top and bottom rails to ensure perfect vertical alignment. I've found that even slight deviations in panel placement create visible gaps that ruin the clean look. For the 2-foot second row of panels, pre-assemble them on the ground before lifting into place—this makes the installation 3x faster and prevents awkward reaching. The 3-inch gap at the bottom is crucial; I like to use 1-inch spacers under each panel to maintain consistent spacing.
Long-Term Maintenance: After completing Step 4, apply a second coat of that weather-resistant stain to all wood surfaces—especially the bottom 12 inches of posts and rails. This extra protection prevents rot where moisture accumulates. For the 1-inch gravel base treatment, I recommend using decomposed granite instead of regular gravel—it drains better and won't shift as much over time. The low-growing perennials you plant along the inside edge should be drought-tolerant varieties like creeping thyme or sedum to minimize watering needs.
Pro Tips for Build A Fenced In Garden
- A few smart strategies that'll make your fencing project stand the test of time—and weather.
- Precision in Planning: Before marking your layout, walk the perimeter with a tape measure to account for any uneven g...
- Post Installation Pro Tips: When digging those 12-inch deep holes for corner posts in Step 2, rent a post hole digger...
Frequently asked questions
Got questions about fencing your garden?
Here are answers to the most common concerns—from timing to troubleshooting—to help you build with confidence!
What’s the best time of year to install a garden fence?
The ideal time is early spring or fall when temperatures are mild. Avoid winter (frost can damage materials) and peak summer (heat warms wood, causing gaps). If you must install in summer, do it early in the morning or late evening to avoid expansion issues.
Can I build a fenced garden without digging posts?
Yes! Use surface-mounted fencing with metal T-posts or gravel-filled post bases for lightweight materials like vinyl or chain link. For wood or privacy screens, concrete footings (even shallow ones) add stability. Just check local codes—some areas require buried posts for permanent structures.
How do I keep animals (dogs, deer, rabbits) out of my fenced garden?
Start with tight spacing: Use 1-inch gaps or less for rabbits/squirrels, 4–6 feet tall for deer, and dig a 12-inch soil trench at the base to deter burrowing. Add electric wire (low-voltage) or mesh wraps for extra defense. For dogs, secure latches and extend fencing 6 inches underground.
What’s the cheapest way to fence a small garden (under 100 sq. ft.)?
Opt for vinyl or PVC panels ($1–$3 per linear foot) with T-posts ($1–$2 each). DIY with corrugated metal roofing ($0.50/sq. ft.) or pallets (free/recycled) for a rustic look. Skip concrete—use gravel or sand bags to weigh down posts. Pre-cut materials at a hardware store to save!
My fence keeps leaning or sagging—how do I fix it?
Check for loose posts—re-tighten bolts or add concrete mix around the base. For wood fences, replace warped pickets or add horizontal braces every 4–6 feet. If using chain link, tension the wire with a come-along tool and secure with tie wires at post tops. Always pre-drill holes to prevent wood splitting!
Wrapping up and next steps
Building a fenced-in garden is a rewarding project that brings privacy, security, and beauty to your outdoor space! With the right materials—like wood, vinyl, or metal—and a clear plan, you’ve got everything you need to create a serene retreat.
Whether you’re a DIY beginner or a seasoned builder, taking it step by step ensures a sturdy, long-lasting result.
Now that you’re armed with knowledge, roll up those sleeves and start digging! Ready to plant, decorate, or relax in your new private garden oasis? Your green escape is just a fence away. 🌿✨