
How To
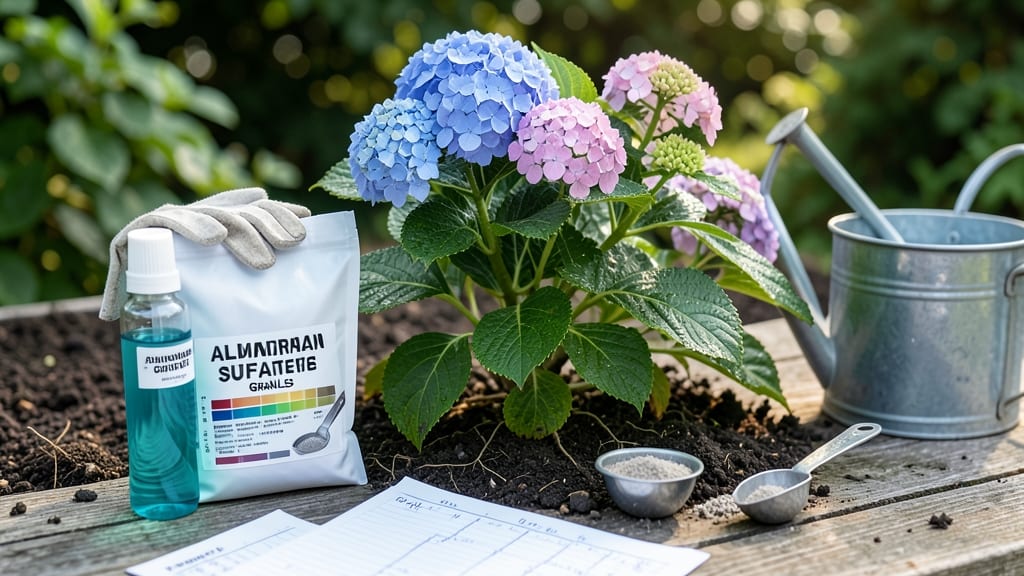
How to lower soil pH for hydrangeas using vinegar and sulfur: step-by-step guide
Lowering your soil’s pH for hydrangeas is the key to unlocking those vibrant blue blooms you’ve been dreaming of. Most hydrangeas thrive in acidic soil (pH 5.2–5.5), but many gardeners start with neutral or alkaline soil (pH 7.0+).
The good news? You don’t need a chemistry degree—just the right tools and a little patience. We’ll walk you through two proven methods: using vinegar (organic) and sulfur (inorganic), plus how to test your progress.
Before diving in, grab your pH testing kit (digital or liquid test strips work best). Hydrangeas are pH-sensitive, so even a 0.5-point shift can change bloom colors dramatically.
For example, a pH of 5.2–5.5 produces blue flowers, while pH 6.0–7.0 yields pink or purple blooms. Let’s get your soil ready for that show-stopping blue!
⚠️ NON-NEGOTIABLE: Always test your soil’s current pH before making adjustments. Over-acidifying can harm roots and stunt growth. Aim for a gradual change—never drop the pH more than 0.5 points per month. Now, let’s roll up our sleeves and adjust that soil!
Step-by-Step Guide to Lowering pH for Hydrangeas
Use a digital pH meter or liquid test kit to measure your soil’s pH. Dig a 6-inch hole near your hydrangea’s roots, collect a sample, and follow kit instructions. Record the reading—this is your starting point.
Vinegar (organic): Mix 1 cup white vinegar with 1 gallon of water (use sparingly—it’s highly acidic). Sulfur (inorganic): Apply 1–2 lbs of elemental sulfur per 100 sq ft and water thoroughly. Sulfur works slower but lasts longer.
For vinegar, water your hydrangea’s root zone with the diluted solution. Start with 1 gallon per plant and reapply every 2–3 weeks if needed. Avoid spraying leaves—stick to the soil only to prevent damage.
For sulfur, sprinkle it evenly over the soil around your hydrangea (avoid direct contact with stems). Water the area thoroughly to activate the sulfur. It may take 2–4 weeks to lower pH, but results last 2–3 months.
Use your pH kit again to check progress. If the pH hasn’t dropped enough, repeat the process. For vinegar, you may need 2–3 applications. For sulfur, reapply as needed every 3 months.
Hydrangeas love acidic soil, but don’t overdo it. Aim for a pH of 5.2–5.5. If blooms stay pink, your soil may still be too alkaline. Consider adding peat moss or pine needles to the soil as a long-term fix.
Pro tip: If you’re using vinegar, always dilute it properly. Undiluted vinegar can burn plant roots and harm beneficial soil microbes. For sulfur, apply it in the early morning so it has time to absorb into the soil before evening moisture sets in.
Both methods work best when applied to moist (not soggy) soil.
Patience is key here. Hydrangeas won’t show dramatic color changes overnight—give them 4–6 weeks to adjust to the new pH levels. Once you hit that ideal 5.2–5.5 range, you’ll start seeing those deep blue blooms you’ve been waiting for.
And if you’re still not seeing results? Don’t worry—we’ll cover alternative methods and troubleshooting tips in the next section!
Remember, every hydrangea is unique.
How to lower soil pH for hydrangeas using vinegar and sulfur: step-by-step guide
Your hydrangeas deserve that vibrant blue bloom, but achieving it starts with lowering soil pH to between 4.5 and 5.5. The good news? You can do this safely at home using vinegar or elemental sulfur.
Let’s break down the process so you can transform those pink blooms into stunning blues without harming your plants.
Before diving in, test your soil’s pH using a reliable kit. Most garden centers sell affordable testers—just follow the instructions to get your baseline. Hydrangeas thrive in acidic soil, so if your reading is above 5.5, it’s time to act.
Remember, gradual changes are key—sudden pH shifts can shock your plants.
✅ Step-by-Step Guide to Lowering pH for Hydrangeas
- Test your soil: Use a pH meter or kit to confirm your current level. Aim for 4.5–5.5 for blue blooms.
- Choose your method: Vinegar for quick fixes (organic) or sulfur for long-term changes (inorganic).
- Apply vinegar (optional): Mix 1 cup white vinegar per gallon of water. Water the soil around your hydrangeas—do not spray leaves.
- Add sulfur: Sprinkle 1–2 lbs of elemental sulfur per 100 sq ft of soil. Water thoroughly to activate.
- Re-test in 4–6 weeks: Check pH again. Adjust gradually if needed—never exceed 1 pH point per month.
- Monitor blooms: Blue hydrangeas should appear in 2–3 months if pH is correct.
For vinegar, the process is quick but temporary—ideal if you need a fast boost. Mix 1 cup of white vinegar with 1 gallon of water and water the soil around your hydrangeas.
Avoid spraying foliage, as vinegar can burn leaves. This method works best for small gardens or container plants where you can control soil directly.
If you prefer a long-term solution, elemental sulfur is your best bet. Sprinkle 1–2 lbs of sulfur per 100 square feet of soil and water it in. Sulfur releases acidity slowly, making it perfect for large garden beds.
For container hydrangeas, use ½ teaspoon per gallon of potting mix. Always water after application to activate the sulfur.
After applying your chosen method, wait 4–6 weeks before re-testing the soil. Hydrangeas are patient plants, and sudden pH changes can stress them. If your soil is still too alkaline, repeat the process—but never exceed 1 pH point per month.
Patience is key to avoiding root damage and ensuring those dreamy blue blooms appear next season.
Pro tip: Pair your pH adjustment with a layer of pine needles or composted leaves around your hydrangeas. These organic amendments add acidity naturally over time and improve soil structure. Just